

Septic Tank Lid Replacement (How To Guide)
A septic tank lid isn’t exactly the most exciting thing to deal with around the house, but it’s super important.
A damaged, cracked, loose, or missing lid can become a safety problem quickly, especially if children, pets, or people regularly use the area.
The good news is that replacing a septic tank lid can be a fairly simple job.
The catch? Septic tanks aren’t something you want to mess around with casually. They can contain dangerous gases, and the tank itself can be an awkward place to work.
In this post, we’ll show you how to replace a septic tank lid like a PRO.
Step 1: Expose The Lid
First things first, you need to find the septic tank lid.
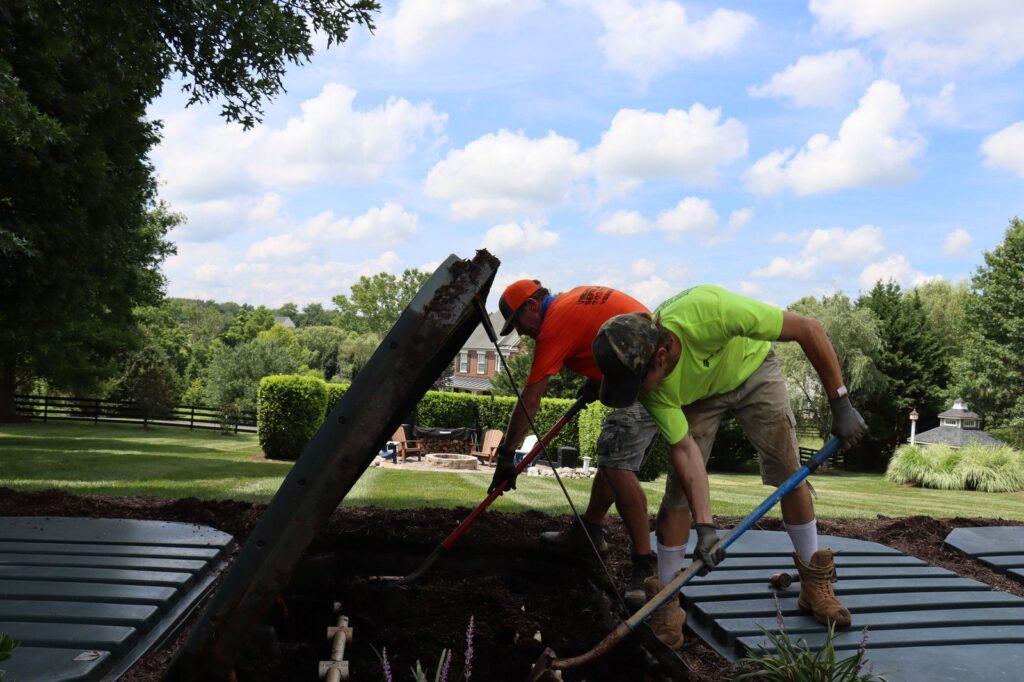
If it’s buried under soil or grass, use a shovel to carefully uncover it.
Take your time here. You don’t want to accidentally damage the lid, tank, pipes, or riser while digging. Once you’ve exposed the lid, clear away enough soil to see the entire edge. You want a good look at how the lid sits on the tank or riser.
Keep children and pets away from the area while you’re working, and don’t stand directly over an open tank.
Also Read: Septic Tank Lid Replacement Cost
Step 2: Inspect The Existing Tank
Before you start pulling anything apart, have a good look at what you’re dealing with.
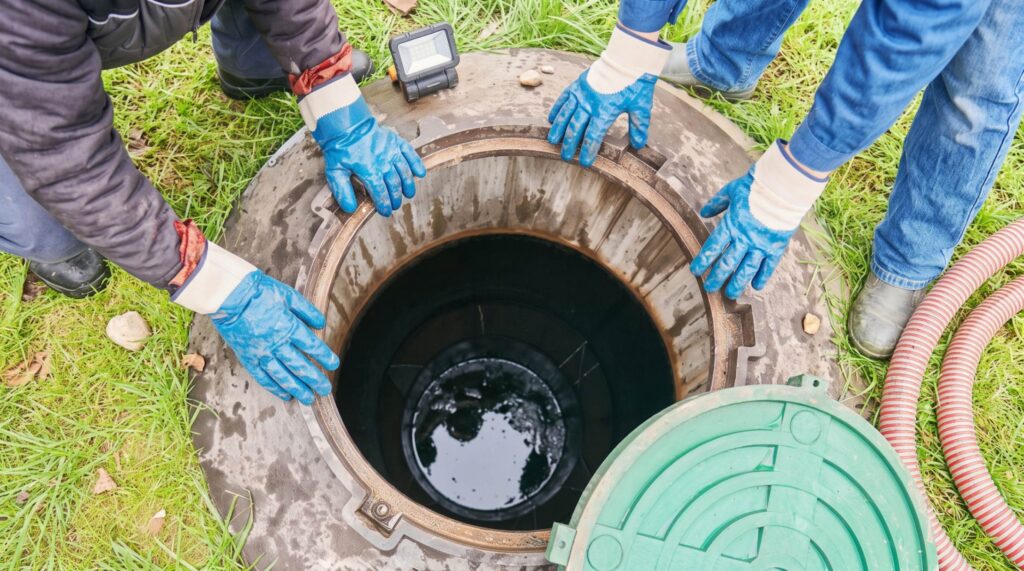
Check the lid for obvious cracks, broken sections, corrosion, or other damage. Then look at the area around the lid. The tank opening, riser, and seating surface should all be in reasonably good condition.
This part matters because replacing the lid won’t solve a bigger structural problem.
If the concrete around the opening is crumbling or the tank itself appears damaged, it’s time to stop and call a professional.
Also, don’t put your head over the opening to inspect the inside of the tank. Septic tanks can contain hazardous gases, including gases that can make you seriously ill or worse.
Step 3: Remove The Old Lid
Now comes the part that often looks easier than it actually is: removing the old lid.
Some septic tank lids are surprisingly heavy, particularly concrete ones.
Don’t try to be a hero and wrestle a massive slab out by yourself. Get another person to help or use appropriate lifting equipment.
If the lid is cracked or badly damaged, take extra care. Broken concrete can shift unexpectedly, and you don’t want pieces falling into the tank.
Also Read: Septic Drain Field Cleaning Guide
Once you’ve removed the old lid, keep the opening protected. Don’t leave it sitting open while you take a lunch break or wander off to find tools.
And one very important rule: never enter a septic tank.
Step 4: Clean The Lid Seating Area
With the old lid out of the way, clean the surface where the new lid will sit.
Remove loose dirt, mud, grass, old sealant, and bits of damaged concrete. Create a clean, reasonably level surface so the replacement lid can sit properly.
Give the area a careful visual inspection as you clean it. Small amounts of dirt are no big deal, but major cracks, crumbling concrete, or an uneven structural surface can cause problems later.
Don’t rush this step. A few extra minutes of cleaning can make installation much easier.
If your replacement lid comes with specific installation instructions, follow those instructions for preparing the seating area.
Step 5: Install The New Lid
Before putting the new lid in place, make sure you’ve got the correct size. Measure the actual opening rather than simply guessing based on the old lid.
Replacement lids come in different sizes and materials. Some are concrete, while others are made from plastic, fiberglass, or other durable materials. Pick one designed specifically for septic tank access and suitable for the load it will need to handle.
Once you’ve got the right lid, carefully position it over the opening.
Make sure it sits evenly on its intended seating surface.
If the lid uses a gasket, locking mechanism, or manufacturer-approved sealant, install it according to the instructions.
Don’t improvise with random materials just because they’re sitting in the garage.
Also Read: How Often To Pump Septic Tank For A Family Of 4?
Step 6: Secure And Check The Lid
The new lid is in place, but you’re not quite finished yet.
Give it a careful visual check. It should sit flat and securely without obvious gaps or rocking. If the design includes fasteners or a locking system, make sure everything is installed correctly.
You don’t want a lid that can easily move when someone steps on it. That’s especially important around homes with kids or pets.
At this point, take another look at the surrounding area too. Make sure soil, stones, or other debris haven’t become trapped underneath the lid.
A few minutes of checking now can save you from discovering six months later that the lid has shifted.
Step 7: Backfill Around The Lid
Once everything looks good, you can start putting the surrounding soil back.
Add the soil carefully around the lid and compact it gently. Avoid dumping a huge pile of heavy material directly onto the lid.
Don’t bury the access point so thoroughly that you’ll never be able to find it again. Septic tanks need periodic maintenance, pumping, and inspection, so future access is important.
A small marker, landscaping feature, or clearly remembered location can save you a lot of digging down the road.
When You Should Call A Septic Professional
Some septic tank lid replacements are simple. Others can turn into a much bigger job.
You should bring in a professional if:
- The tank or riser is cracked or badly damaged
- The old lid has fallen into the tank
- The opening appears unstable
- The replacement lid is too heavy to handle safely
- You need structural repairs around the access point
- You aren’t sure which replacement lid you need
Professional help is also a good idea if the lid is located somewhere that needs to support vehicles or other heavy loads. That’s not the place to guess.
Common Mistakes You Should Avoid
The biggest mistake is treating a septic tank like an ordinary underground storage box. It isn’t.
Dangerous gases can build up inside, and an open tank creates a serious fall hazard.
Another common mistake is buying a lid based on a rough measurement. Take accurate measurements of the opening before ordering anything. A lid that’s slightly too small isn’t going to magically become a good fit.
Don’t ignore damage around the opening, either.
A shiny new lid sitting on crumbling concrete doesn’t make the whole setup safe.
Finally, don’t assume you can drive a car, truck, or other heavy equipment over the lid. Only do that when the entire septic system and access cover are specifically designed and rated for the expected load.
Bottom Line
Replacing a septic tank lid can be a manageable home maintenance project when the tank and surrounding structure are in good condition.
The basic process is pretty straightforward: expose the lid, inspect the area, remove the old cover, clean the seating surface, install the replacement, check that it’s secure, and restore the soil.
The biggest thing to remember is safety.
Never enter a septic tank, never leave an opening exposed and unattended, and don’t try to lift a heavy concrete lid without proper help.
Your Service Experts

Virginia Septic is a full-service septic company. We do pump outs, inspections, operations and maintenance, repairs, modifications, and full septic system installations. Virginia Septic has been proudly serving the Virginia area since 2010 and is excited to now be serving all of mid-Atlantic Virginia.
Popular Articles


Locations
Marshall, VA
Hartfield, VA